How to banish ads from apps and your smart TV
Online ads can be really annoying. Especially when you’re watching a YouTube video and 1–2 ads pop up every few minutes. It’s the same with “free” apps — whether it’s a weather app, game, or translation app, the ads eventually start playing. To stop this, I set up a Pi-hole and explain in this blog post how it works.
What is a "Pi-Hole"?
A Pi-Hole is software that runs on a Raspberry Pi (a small micro-PC) and can filter out all ads from a network.
This works by having the devices in the home network use the Pi-Hole instead of their usual DNS (Domain Name Server).
The DNS is what the router or PC queries to get an IP address from an internet address.
So, if for example YouTube sends a request for “www.AnnoyingAdProvider.com” to load the usual annoying ads, this request is intercepted and nothing is returned instead.
Why do I need a Pi-hole?
A Pi-Hole can block ads not only on websites in a regular browser (like a typical browser adblocker plugin does), but also within apps on your phone or even in the YouTube app on a smart TV.
And it does this network-wide, without needing an adblocker installed on any individual device.
Here are the individual steps:
Set up the Raspberry Pi
- If you don’t have a Raspberry Pi yet, you can order one from the official website. They’re also available as complete kits on Amazon or similar sites. Almost all types of Raspberry Pi work well for Pi-Hole, as the requirements are quite low. I’ll be referring to a Raspberry Pi 3B, which I used at home for this. Be sure to get a suitable power supply, specifically one with 2.5A/5V. Standard USB power supplies usually provide only 1A/5V and can cause so-called “brownouts.” On a Raspberry Pi, you’ll notice a brownout when a lightning bolt symbol appears in the top right corner of the screen.
- Next, you need to “etch” an operating system onto an SD card. I use the Raspberry Pi Imager for this, but there are other etching tools like Balena as well.
- Now you’ll need an image of the operating system. In our case, it’s Raspberry Pi OS (formerly called Raspbian), based on the Debian Linux distribution. With the Raspberry Pi Imager, you can download the current OS version and write it directly to the SD card.
- Once you insert the SD card into the Raspberry Pi, connect an HDMI cable to a monitor, plug a mouse/keyboard combo into a USB port, and finally connect the power supply, you’ll be greeted by the Raspberry Pi OS.
Configure the Raspy
- If you want, you can also set up the Raspy “headless,” meaning you don’t have to connect a keyboard and mouse. A useful tutorial can be found here.
- You can operate the Raspy via LAN or WLAN, although LAN generally provides a more stable connection.
- Using the command line, you can now enter the following line:
<b>curl -sSL </b>https://install.pi-hole.net<b> | bash</b> - If everything goes well, the setup of the Raspy is complete.
Manually Enter DNS
You can now either:
- Manually set the DNS on each device that should have the ad blocker to the IP address of the Raspy
or - Set the DNS of your router (here’s an example for the FritzBox) to the IP address of the Raspy.
If everything went well, you now have a network-wide ad blocker.
My motivation behind this was that my TV has a YouTube app that unfortunately plays multiple ad blocks during every video. With the Raspy, that problem is solved too.
Additionally, a Raspy also provides security for the entire system, even if there are people in the household who might not be very tech-savvy. They don’t need to install anything on their phone/tablet/laptop to enjoy ad-free internet.
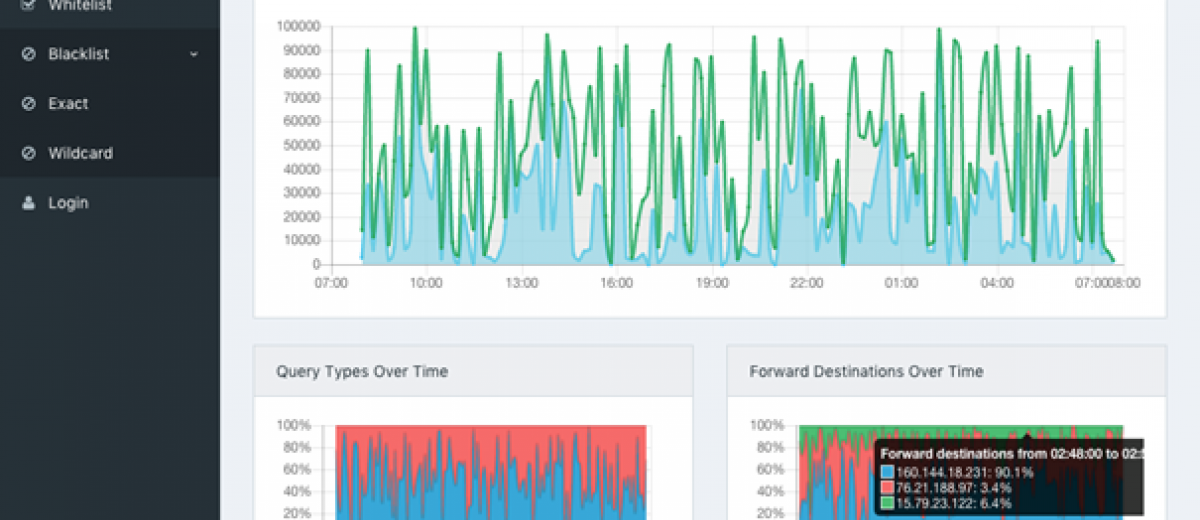
The Raspy also has a web interface, which you can access by typing “http://<IP_ADRESSE_DES_RASPYS>/admin/” in your browser.

